How to Install Laminate Flooring - Complete Guide
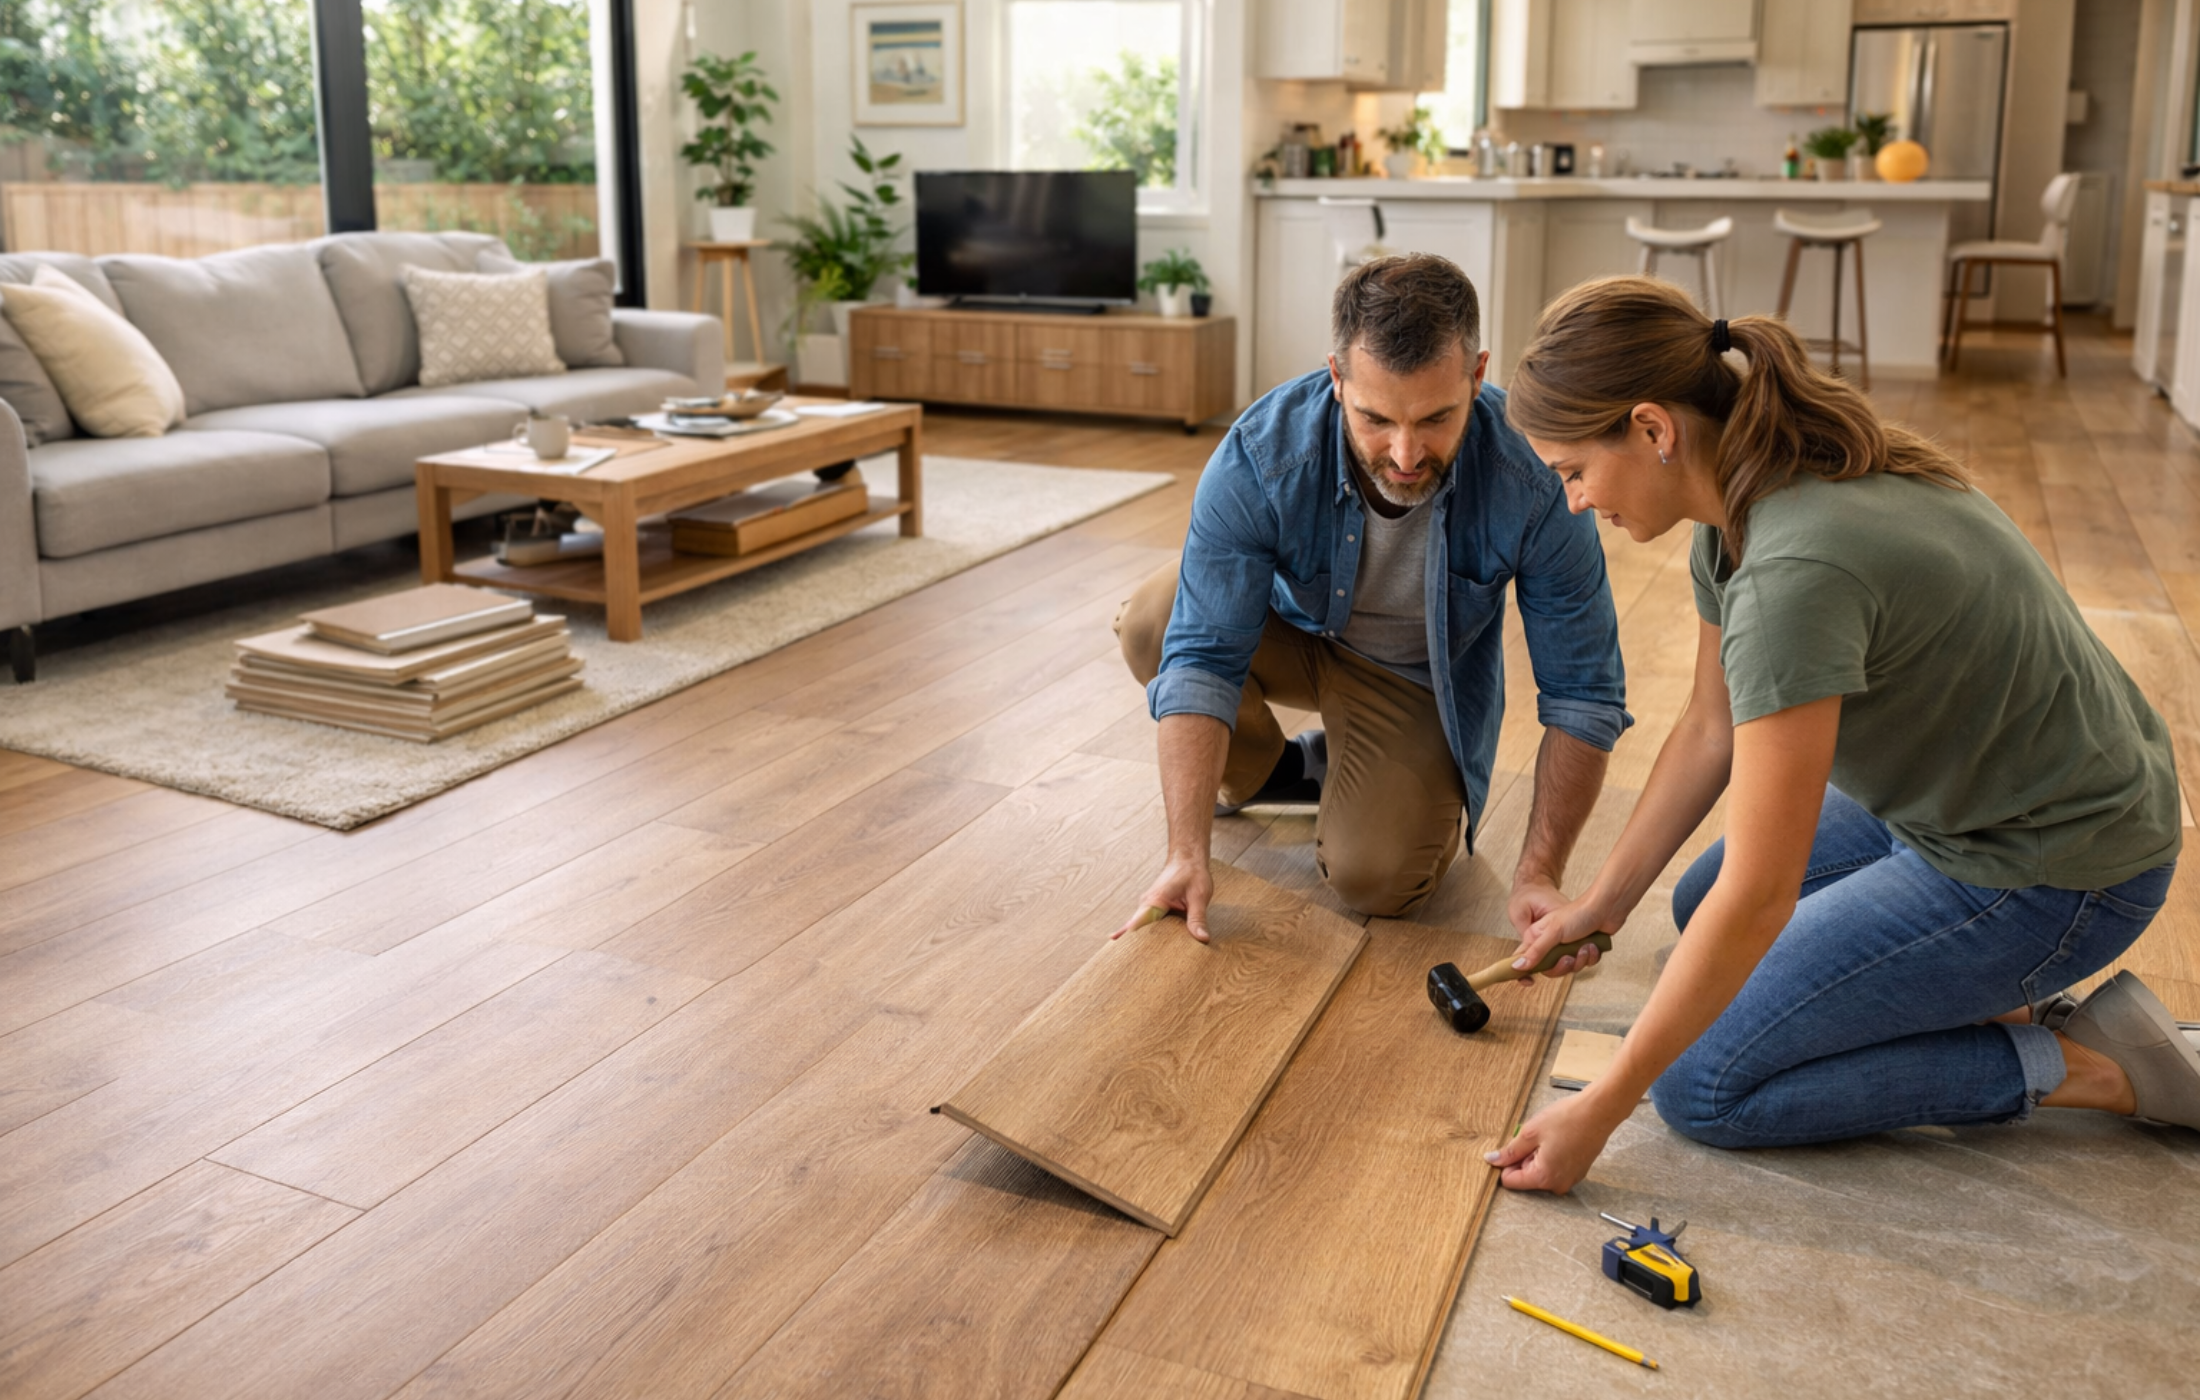
Laminate flooring has become one of the most popular choices for modern homes and for good reason. It’s durable, stylish, budget-friendly, and much easier to install than many traditional flooring options. Whether you're renovating a single room or upgrading your entire home, laminate flooring offers the look of hardwood with less maintenance.
In this guide, we’ll walk you through the essential steps to install laminate flooring and help you achieve a professional-looking finish.
Why Choose Laminate Flooring?
Before diving into the installation process, it’s worth understanding why laminate flooring is such a popular choice among homeowners.
Laminate floors are designed to mimic the appearance of natural wood while offering excellent durability and resistance to wear. Modern manufacturing techniques have made laminate flooring incredibly realistic, making it difficult to distinguish from hardwood once installed.
Some key benefits include:
Cost-effective compared to hardwood flooring
Scratch and stain resistant
Easy maintenance and cleaning
Quick installation with click-lock systems
Ideal for living rooms, bedrooms, and hallways
At Global Carpets and Hardwood, homeowners can explore a wide range of laminate flooring styles designed to match both modern and classic interiors.
Tools and Materials You’ll Need
Before starting the installation, gather the necessary tools and materials to make the process smoother.
Common tools include:
Measuring tape
Utility knife
Rubber mallet
Spacers
Pull bar
Underlayment
Laminate flooring planks
Saw (circular or laminate cutter)
Having everything ready beforehand can save time and help you avoid interruptions during installation.
Step 1: Prepare the Subfloor
The first and most important step is preparing the surface where the laminate flooring will be installed.
Your subfloor should be:
Clean
Dry
Level
Free of debris or old adhesive
Laminate flooring can be installed over several surfaces such as concrete, plywood, or existing flooring like vinyl or tile. However, uneven areas should be leveled beforehand to ensure a smooth installation.
Step 2: Acclimate the Laminate Flooring
Before installing laminate planks, they need time to adjust to the room’s temperature and humidity.
Place the unopened boxes of laminate flooring in the room where they will be installed and allow them to sit for 24 to 48 hours. This prevents expansion or contraction after installation.
This simple step can significantly improve the longevity of your flooring.
Step 3: Install the Underlayment
Underlayment acts as a cushion between the subfloor and the laminate flooring.
It provides several benefits:
Reduces noise
Improves comfort underfoot
Protects against moisture
Extends flooring lifespan
Roll out the underlayment across the room and secure it according to the manufacturer’s instructions. Make sure seams are properly aligned without overlapping.
Step 4: Plan the Layout
Before installing the first plank, plan the layout of your flooring.
Most professionals recommend installing laminate planks parallel to the longest wall or the direction of natural light. This helps the floor look more spacious and visually appealing.
You should also leave a small expansion gap (usually about ¼ inch) between the flooring and the wall. Spacers help maintain this gap during installation.
Step 5: Install the First Row
Start installing laminate flooring in one corner of the room.
Place the first plank with the tongue side facing the wall, using spacers to maintain the expansion gap. Attach the next plank by locking the groove into the tongue.
Continue along the wall until the first row is complete. If the last plank is too long, cut it to fit.
The remaining piece can often be used to start the next row, reducing waste.
Step 6: Continue Installing the Flooring
As you install additional rows:
Stagger the seams for a natural look
Use a tapping block or rubber mallet for a tight fit
Ensure each plank locks securely into place
Staggering joints improves both the durability and visual appearance of the floor.
Step 7: Cut and Fit the Final Row
The final row usually requires cutting the planks lengthwise to fit the remaining space.
Measure carefully and remember to maintain the expansion gap along the wall.
Use a pull bar to secure the last row tightly in place.
Step 8: Install Baseboards and Finishing Touches
Once all planks are installed, remove the spacers and install baseboards or quarter-round molding to cover the expansion gaps.
This final step gives the floor a polished, professional appearance.
Common Mistakes to Avoid
Installing laminate flooring can be straightforward, but avoiding these mistakes will help ensure a better result:
Skipping the acclimation period
Installing on uneven subfloors
Forgetting expansion gaps
Not staggering plank seams properly
Taking the time to prepare correctly can make a big difference in the final outcome.
When to Hire Flooring Professionals
While laminate flooring is considered DIY-friendly, some projects benefit from professional installation especially in large spaces or commercial settings.
Professional installers ensure:
Perfect alignment and finishing
Faster installation
Long-lasting results
If you're planning a flooring upgrade in Vancouver, working with experienced flooring specialists can save time and guarantee high-quality results.
Ready to upgrade your floors? Contact Global Carpets and Hardwood today to Get a Free Quote and discover the perfect laminate flooring for your home.